Craft Project Generator
Craft is the project generator for AppJars. It assembles a runnable Spring Boot and Vaadin Maven project with the selected AppJars already integrated and downloads it as a ZIP archive. The generated project starts with a single command, and every selected AppJar is reachable from its navigation.
Integrating an AppJar by hand means adding the AppJars repository and dependencies, registering packages for scanning, assigning a router layout, implementing the interfaces the AppJar requires, configuring Spring Security and adding the views to the navigation. Craft performs these steps for any combination of AppJars, including the integration between AppJars that are selected together. It is the fastest way to evaluate an AppJar and the recommended starting point for a new application.
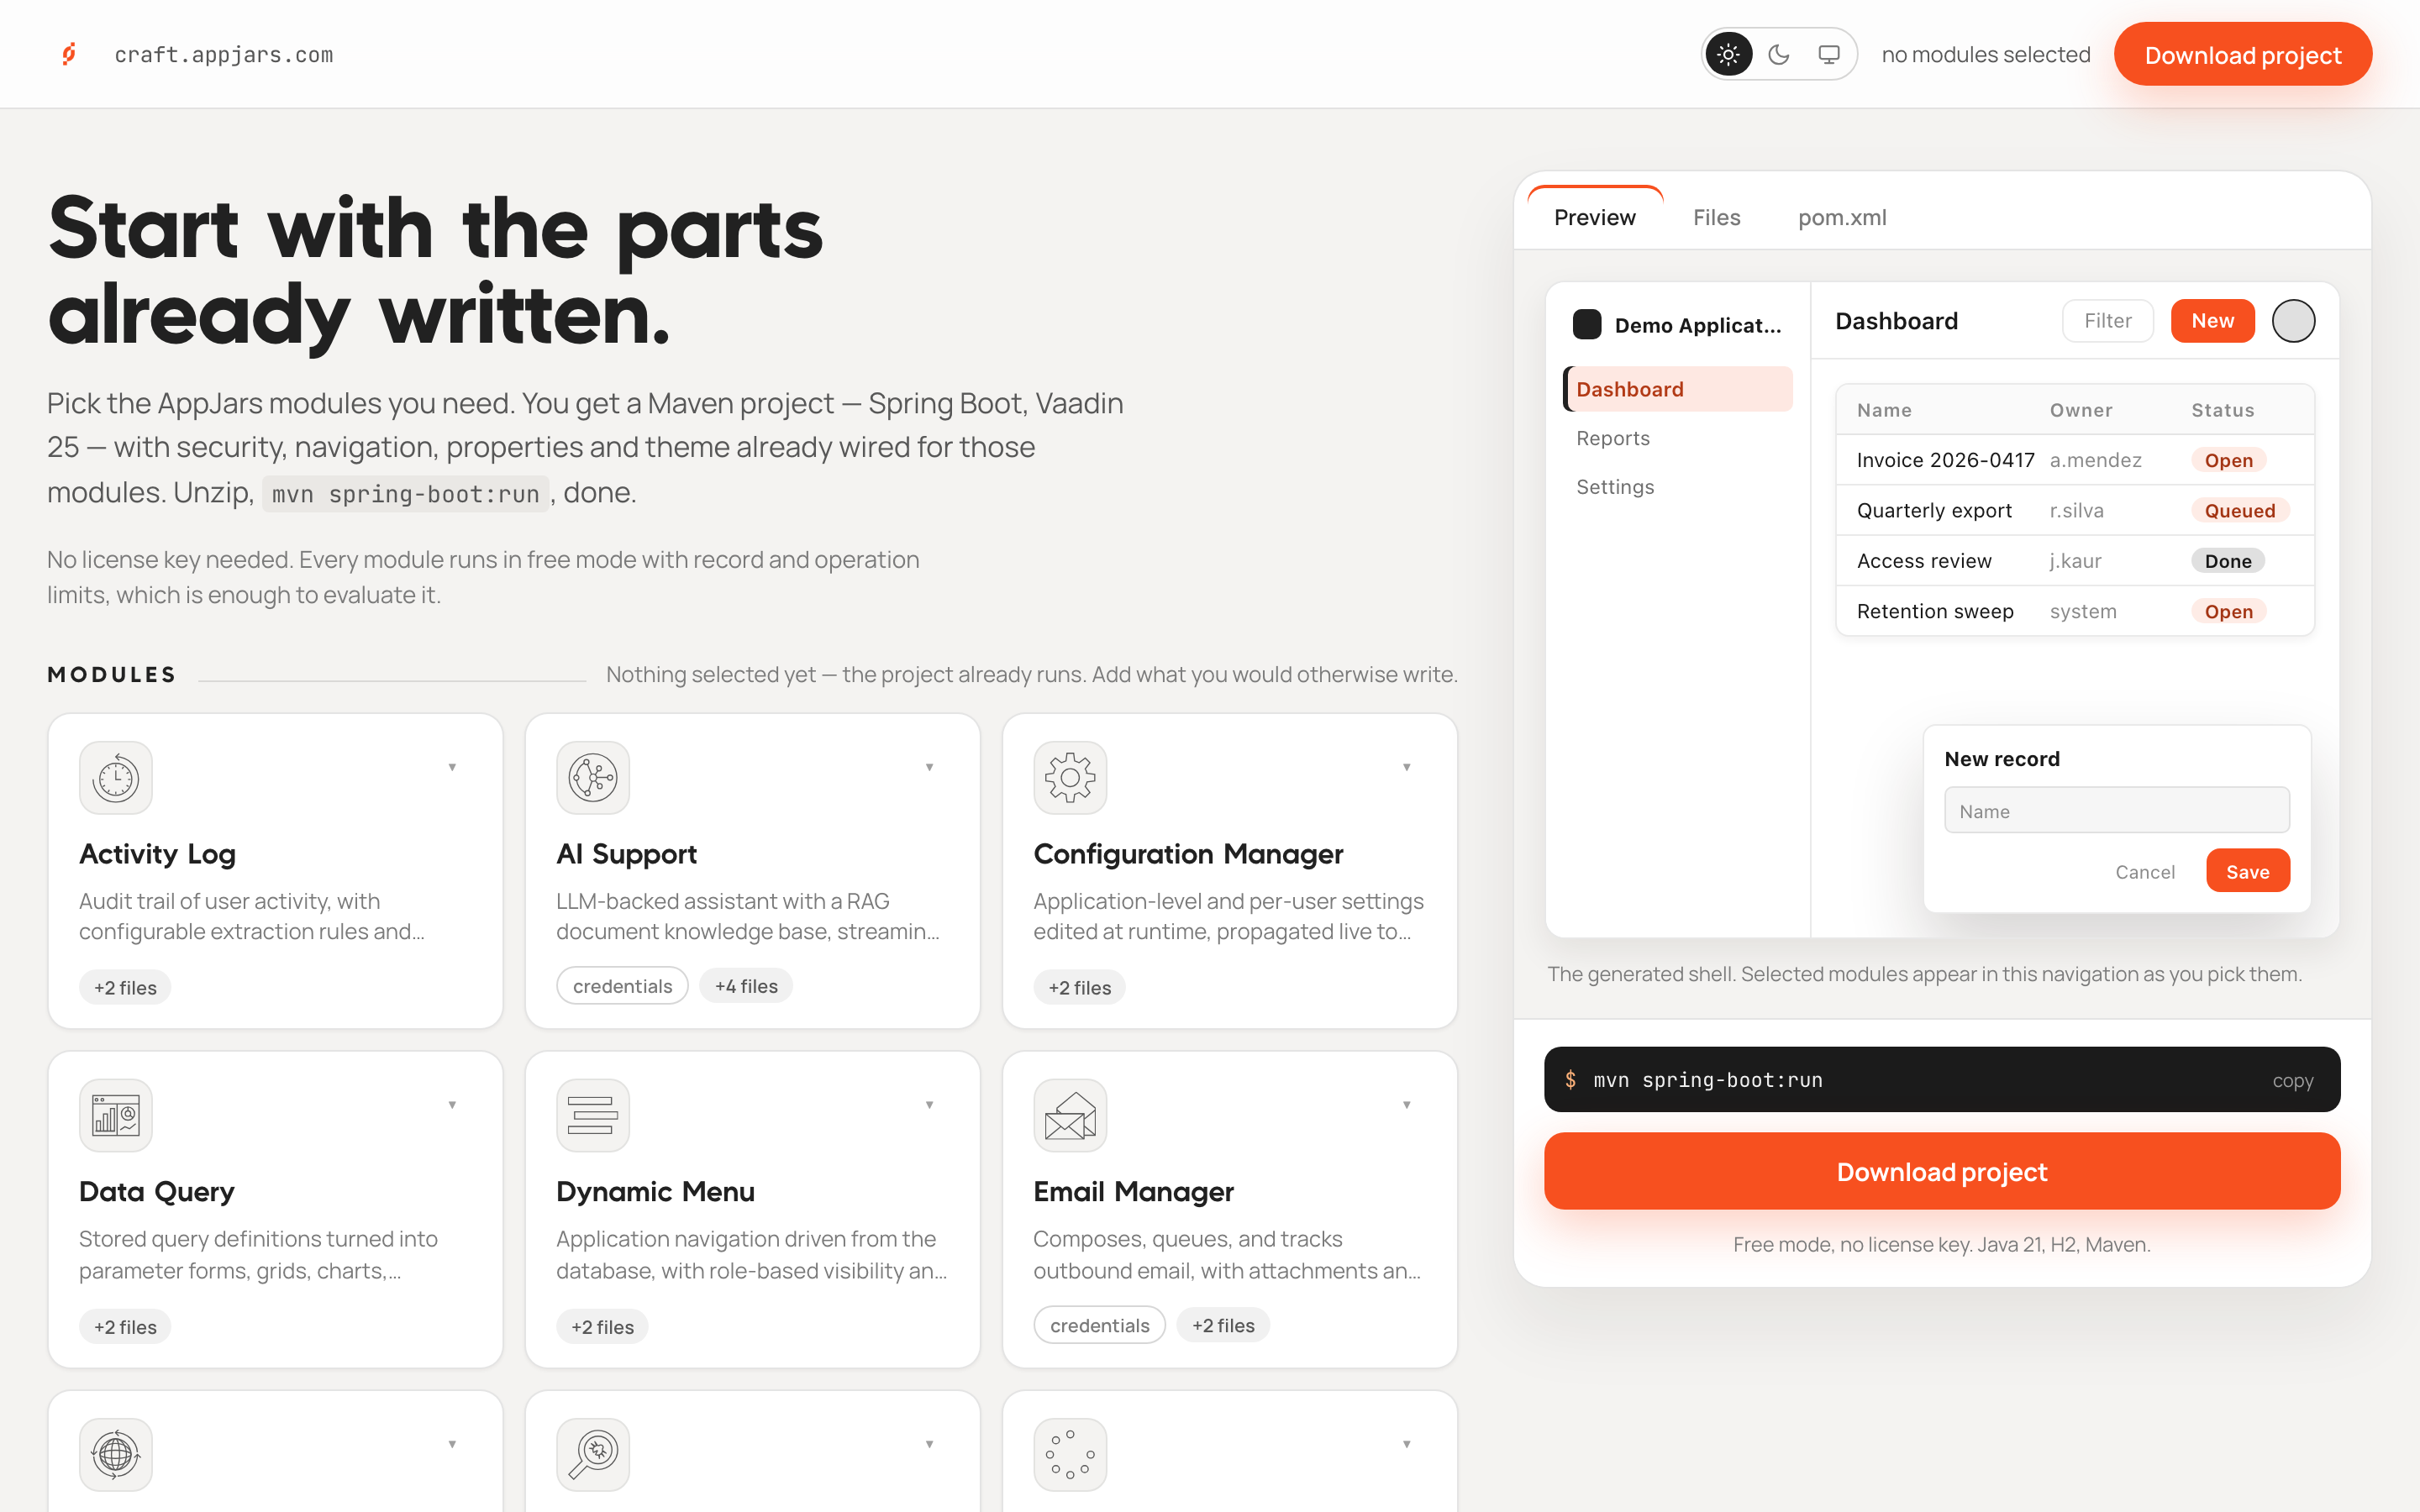
Craft runs entirely in the browser. The project is assembled on the user's machine and no project data is sent to a server. No account and no license key are required: every AppJar in the generated project runs in free mode.
Requirements
The requirements depend on how the generated project is run:
- With Docker, the default: only Docker with Docker Compose. The application is built inside a container, so Java and Maven are not needed on the machine.
- With Maven, or from an IDE: Java 21 or later and Maven 3.9 or later. The project fails the build with an explanatory message on older Maven versions. When PostgreSQL is selected as the database, Docker is also needed to start it.
Generating a Project
The Craft page is organised in three areas: Modules, Project and Appearance on the left, and a result panel with the Download project button on the right. Every change is reflected immediately in the result panel.
Choose the Modules
The Modules section lists every available AppJar as a card. Clicking a card selects it; clicking it again removes it from the selection. Any combination of AppJars is valid, because no AppJar depends on another. A project with no modules selected is also valid: it produces an empty Spring Boot and Vaadin application, ready for manual integration.
Each card shows:
- Name and summary: the AppJar and a one-line description of what it provides.
- Files chip: how many files the AppJar adds to the generated project.
- credentials chip: present when the AppJar needs external settings, such as an SMTP server or an LLM API key, before some of its features work.
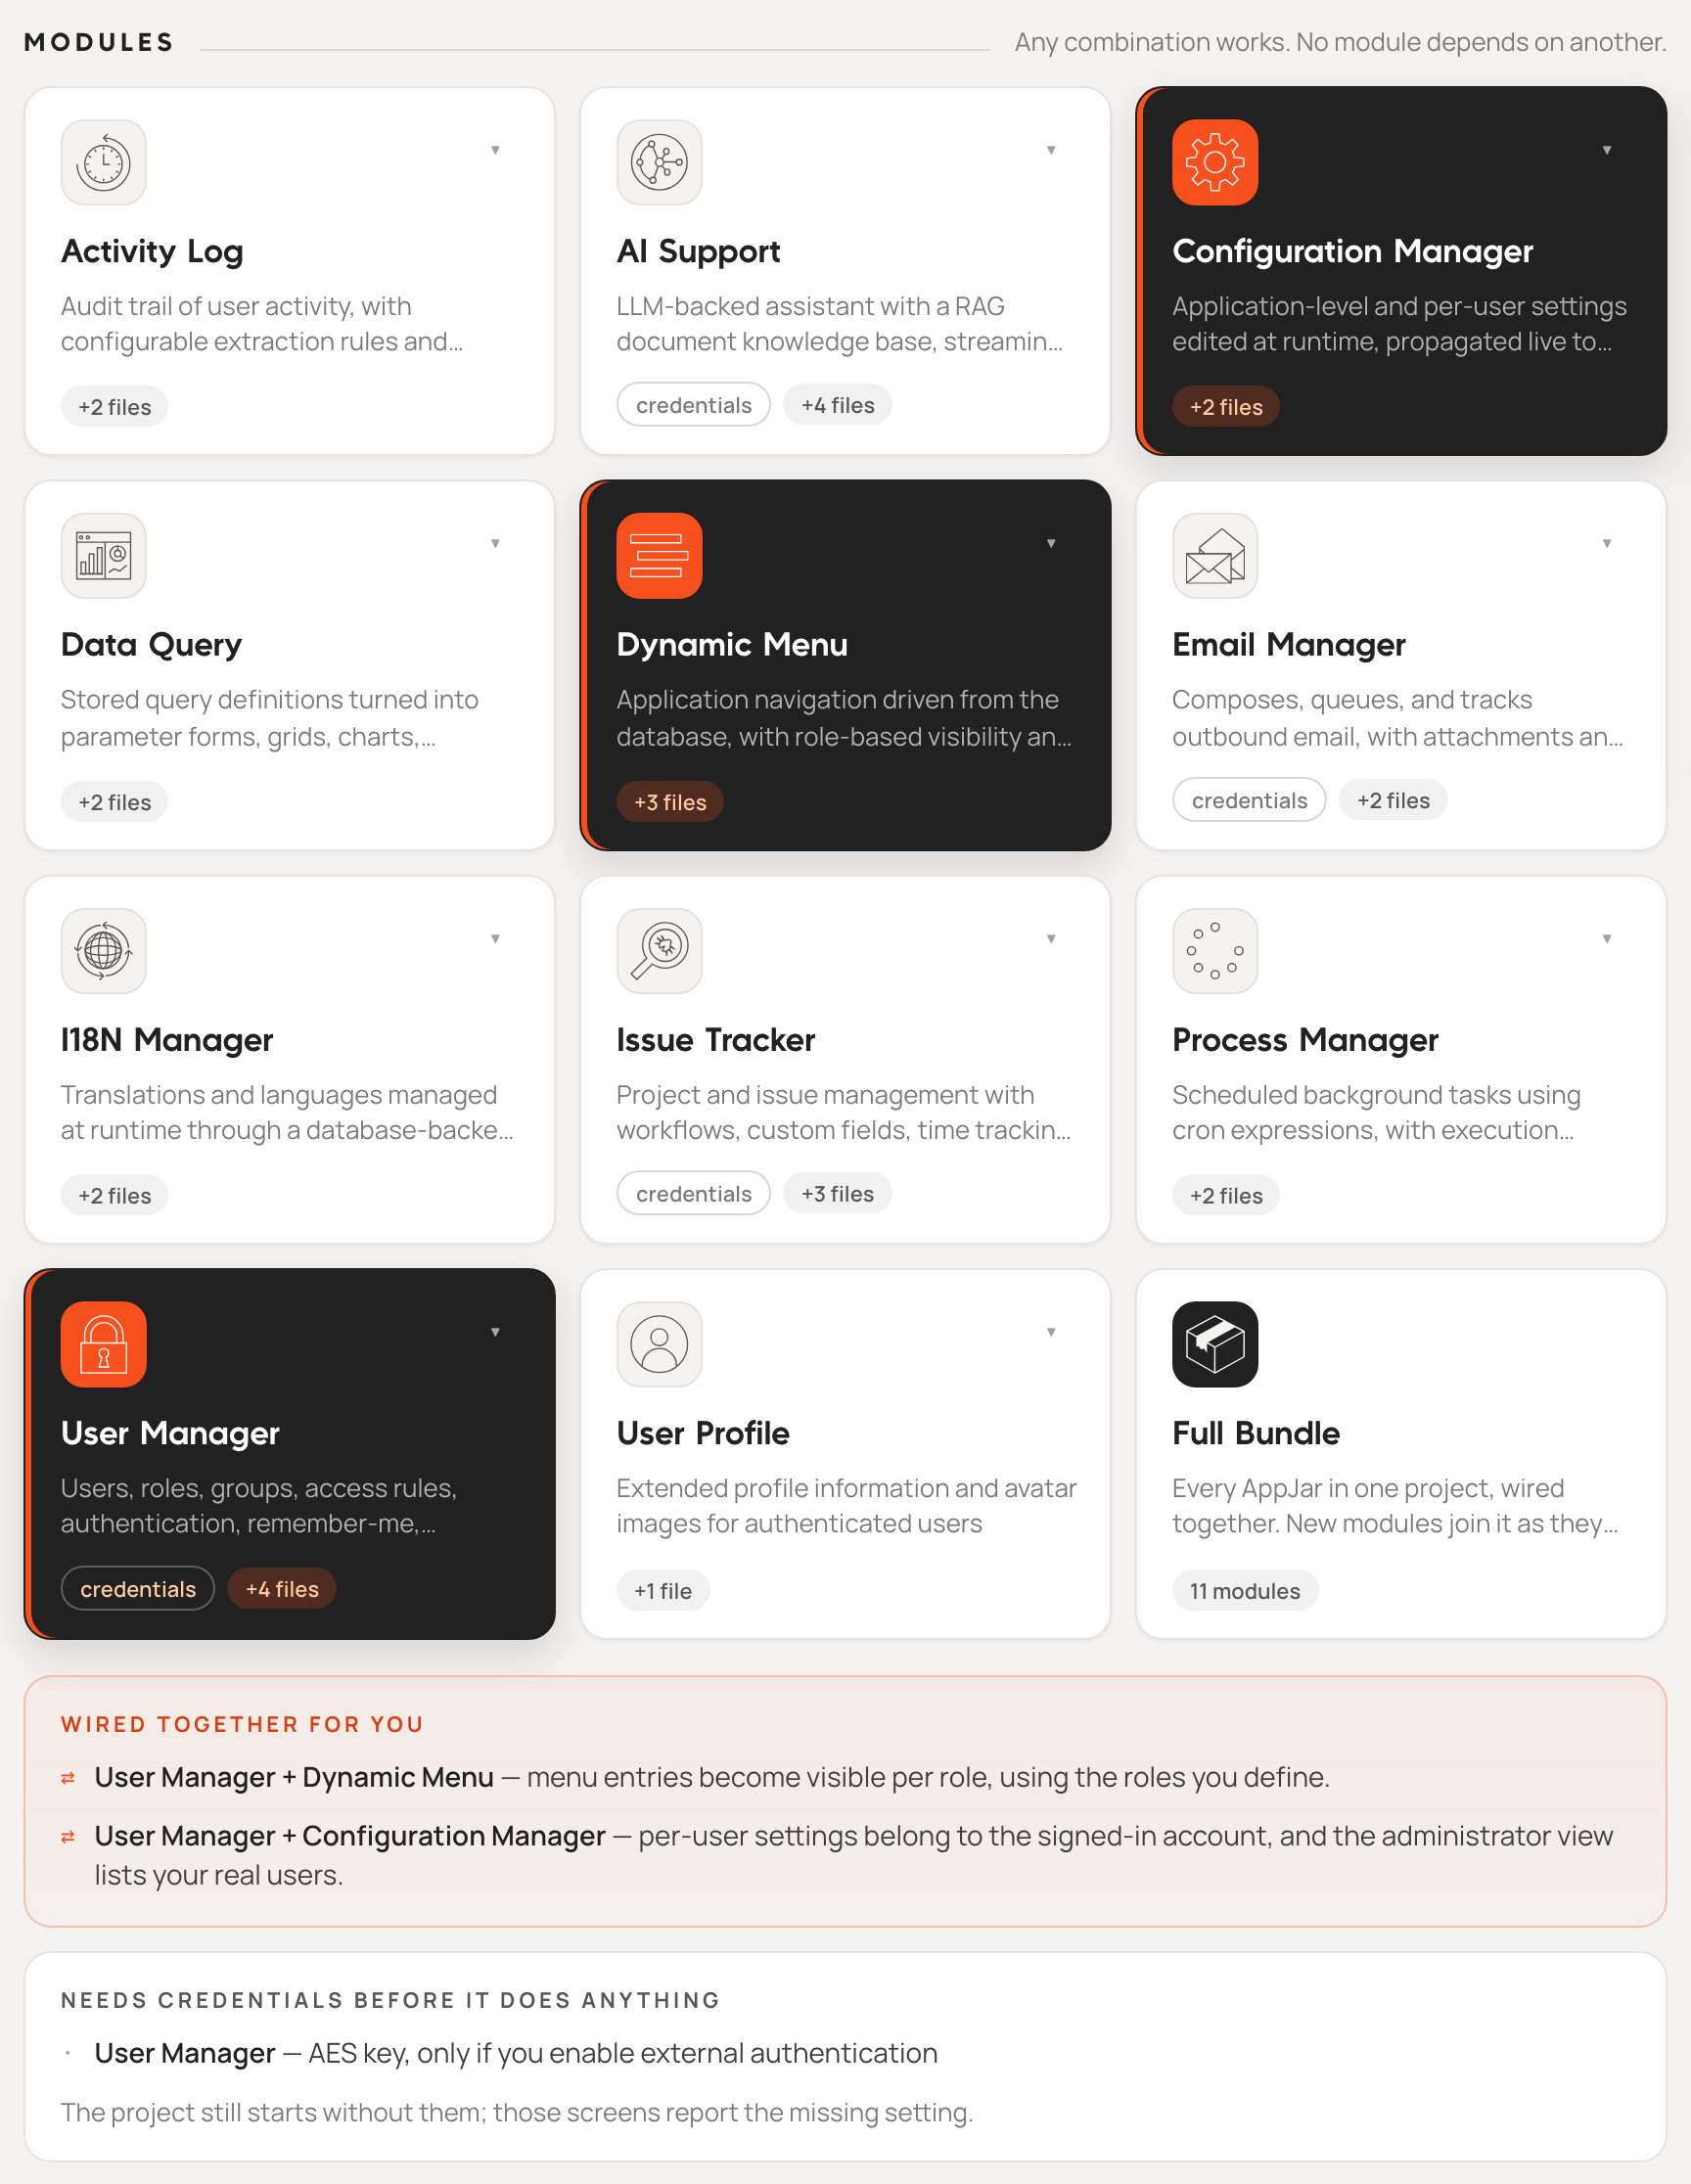
When the selected AppJars work together, the Wired together for you panel lists each integration that Craft configures. For example, with User Manager and Dynamic Menu selected, menu entries become visible per role using the roles defined in User Manager. When a selected AppJar needs external settings, the Needs credentials before it does anything panel lists them. The project starts without those settings; the affected screens report the missing setting.
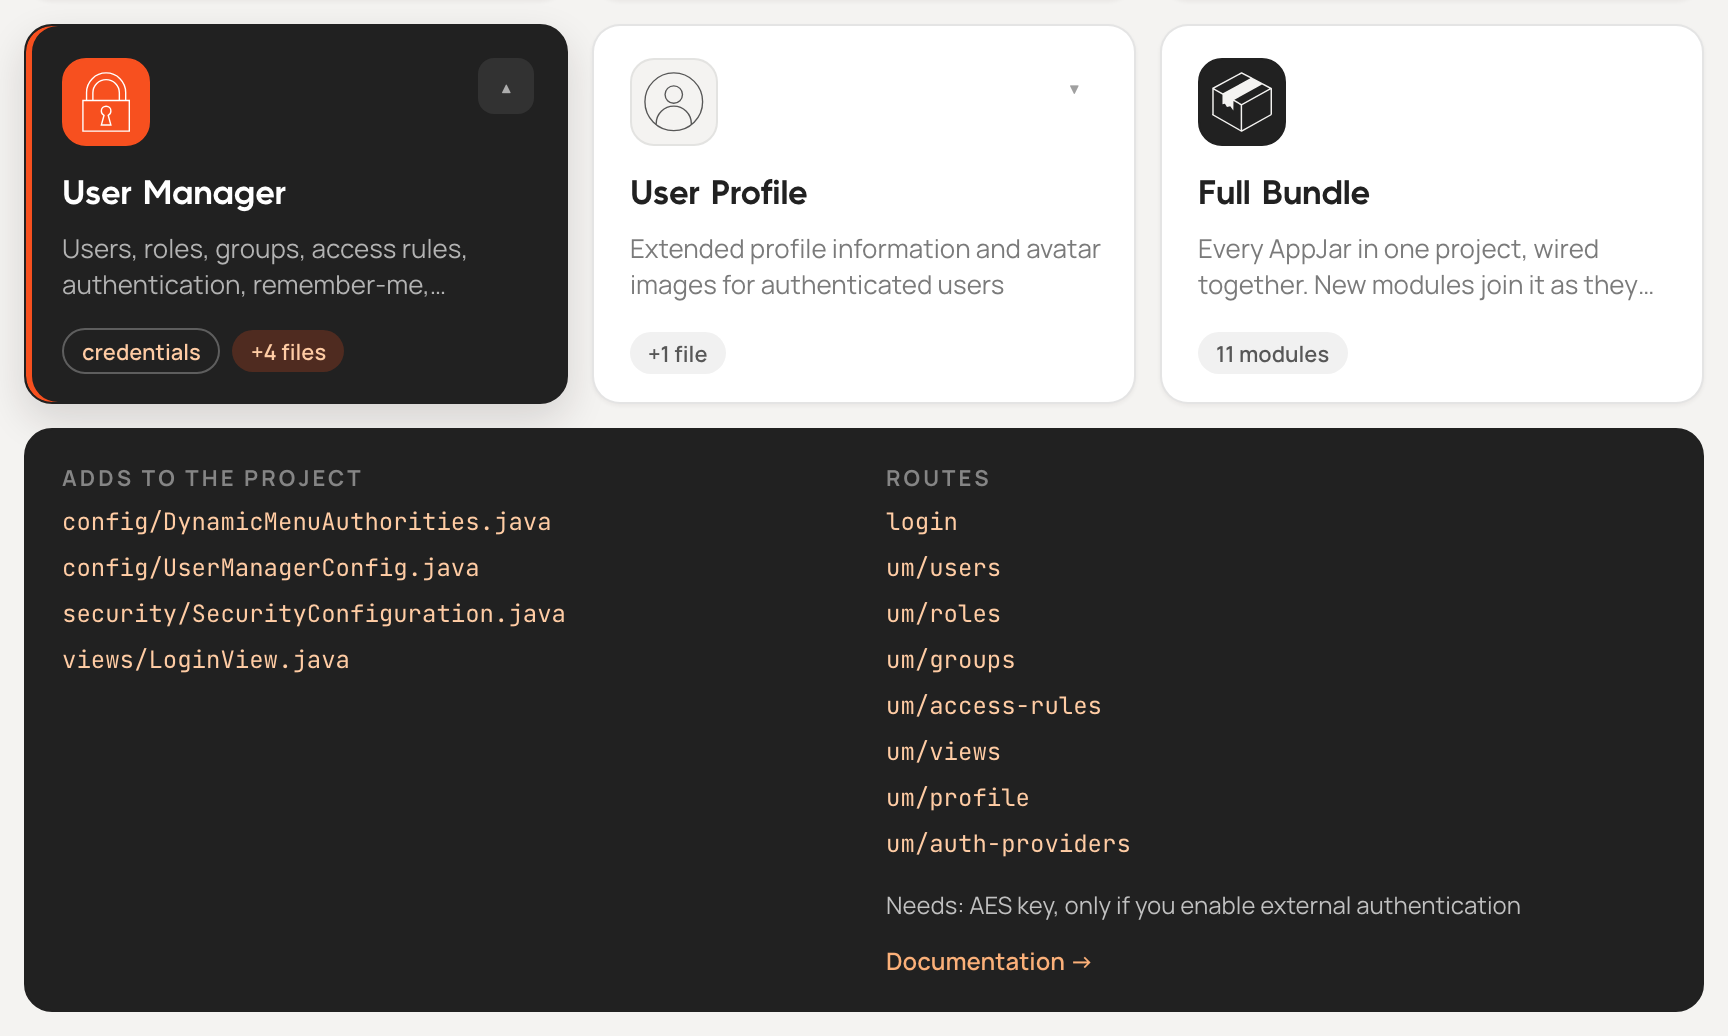
The arrow on the top-right corner of each card opens its details. The detail panel lists the files the AppJar adds to the project, the routes of its views, the external settings it needs and a link to its documentation.
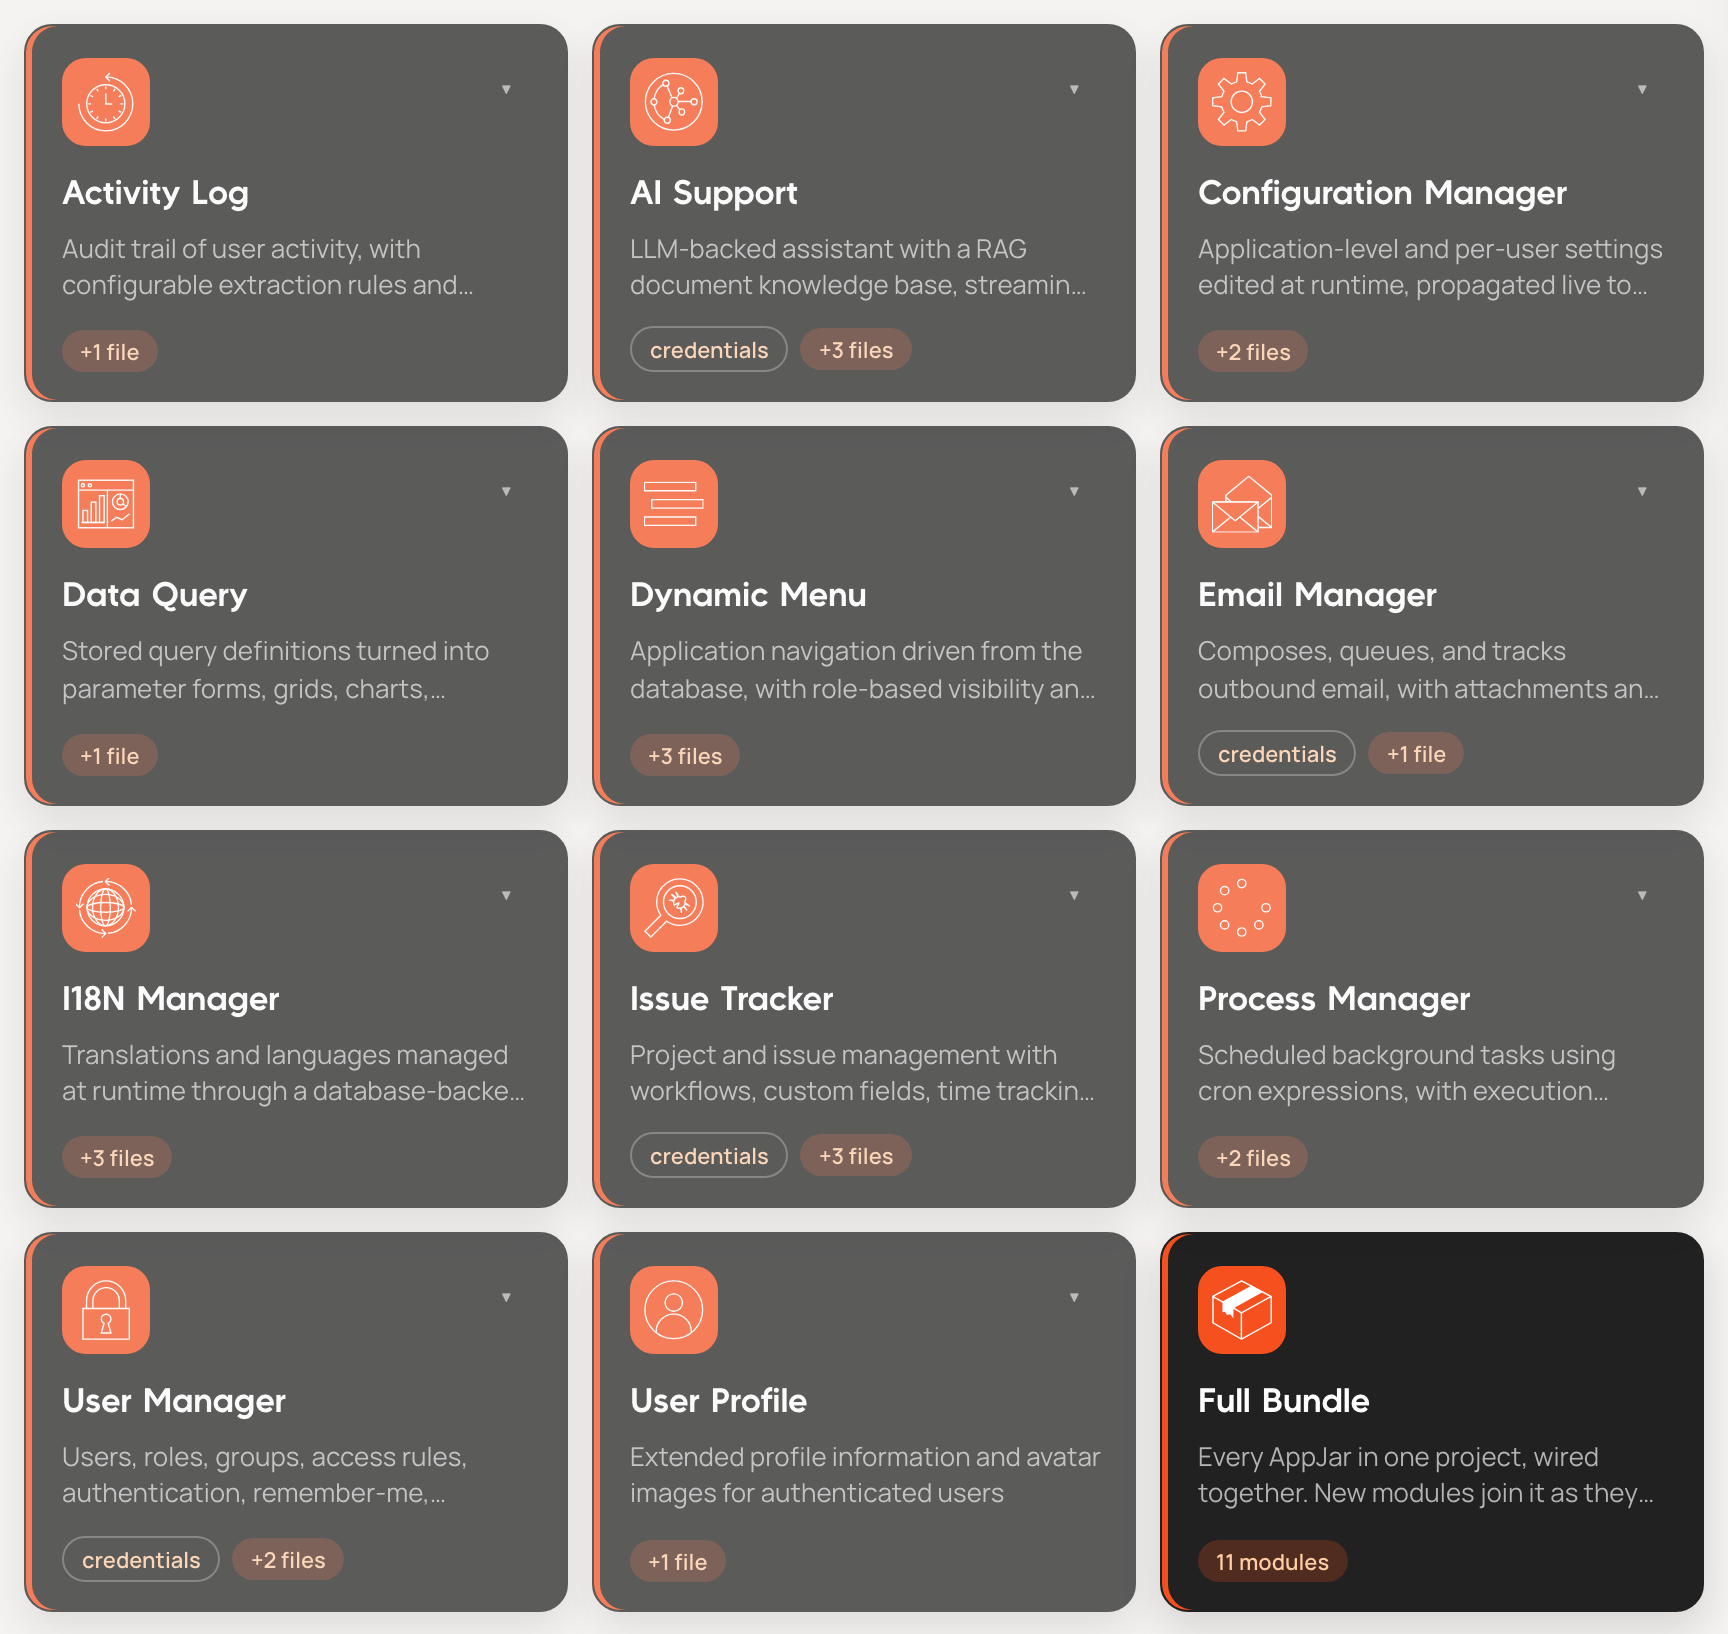
The Full Bundle card, at the end of the grid, selects every AppJar at once and locks the individual cards. Switching it off restores the previous selection. New AppJars join the Full Bundle as they are released.
Configure the Project
The Project card defines the Maven coordinates and the runtime choices of the generated project.
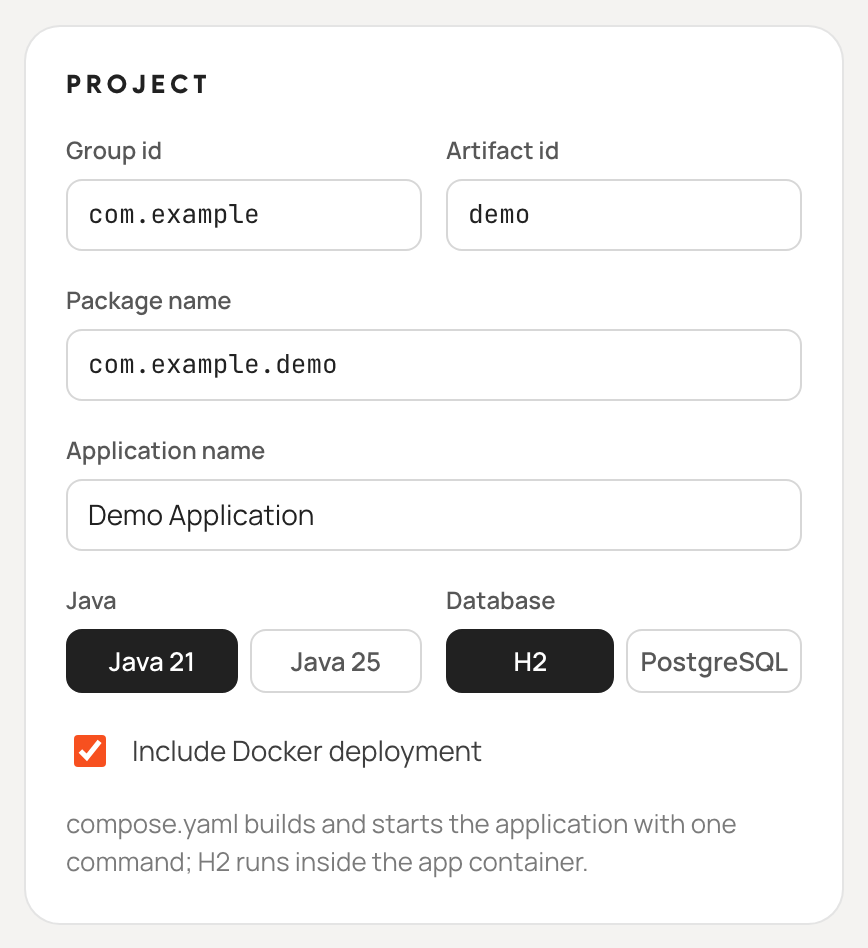
- Group id: the Maven
groupIdof the project. Defaults tocom.example. - Artifact id: the Maven
artifactIdof the project. It is also the name of the downloaded archive and of the folder it contains. Defaults todemo. - Package name: the base Java package. It is derived from the group and artifact ids until it is edited, and must be a valid Java package name; an invalid value is reported below the field and blocks the download.
- Application name: the name displayed in the navigation drawer and in the generated
README.md. - Java: the Java version of the project, Java 21 or Java 25.
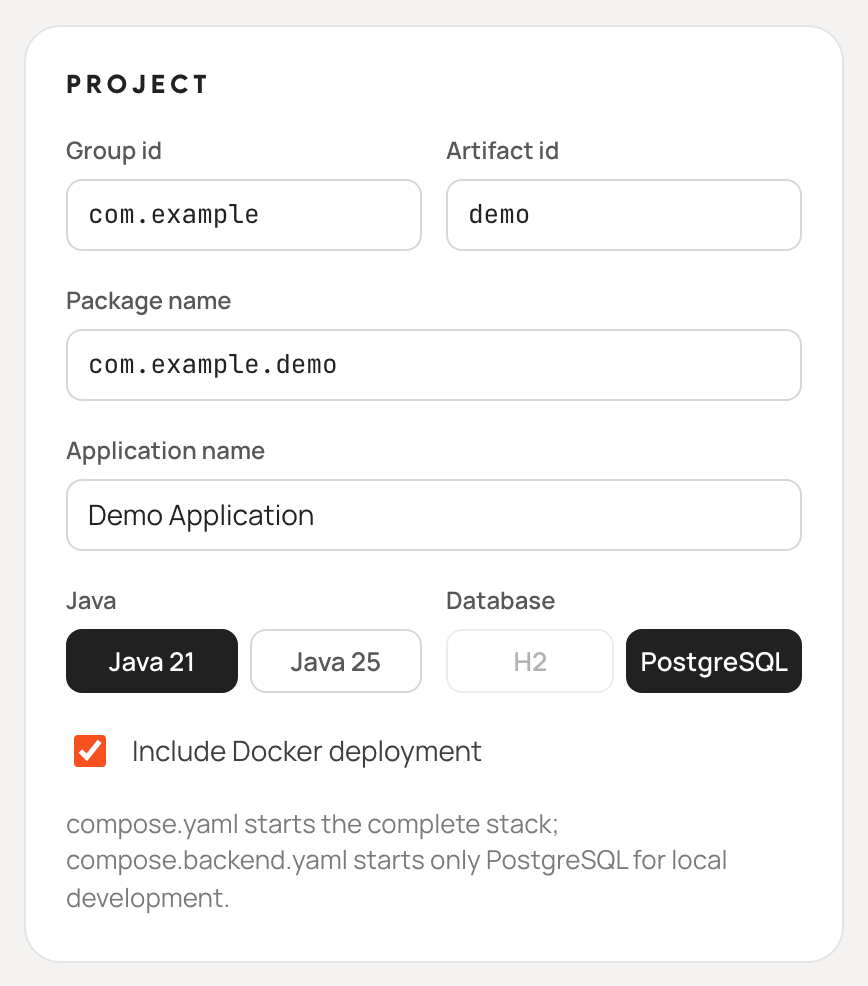
- Database: H2 or PostgreSQL. H2 runs in memory, so the application starts with no database to install, but the data is lost when it stops. PostgreSQL keeps the data; Craft adds a
compose.backend.yamlfile that starts a PostgreSQL 16 container for local development. - Include Docker deployment: selected by default. Adds a
Dockerfilethat builds the production application, a.dockerignorefile and acompose.yamlfile that builds and starts the complete application, together with its PostgreSQL database when PostgreSQL is selected. Clear it to generate a Maven-only project.
Some AppJars only run on PostgreSQL. When AI Support is selected, Craft switches the database to PostgreSQL and disables the H2 option, because AI Support needs PostgreSQL with the pgvector extension. The generated Compose files start a PostgreSQL image that includes it.
Choose the Appearance
The Appearance card defines the visual theme of the generated application. All values are written as plain CSS custom properties to src/main/resources/META-INF/resources/styles.css, so they can be edited later in any text editor.
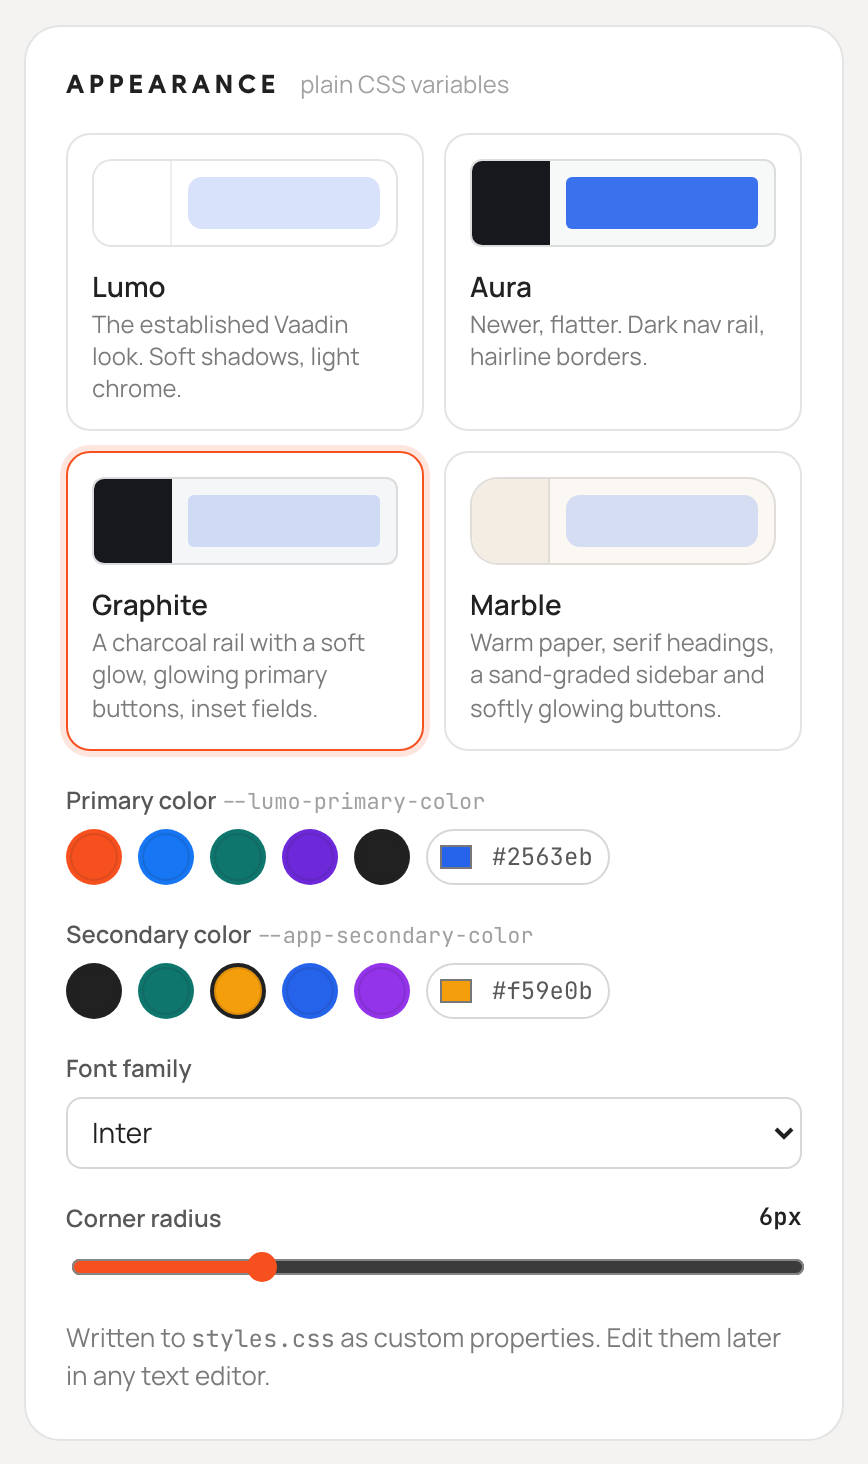
- Theme: the base look of the application.
- Lumo: the established Vaadin theme, with soft shadows and light chrome.
- Aura: the newer Vaadin theme, flatter, with a dark navigation rail and hairline borders.
- Graphite: a Lumo variant with a charcoal navigation rail, glowing primary buttons and inset fields.
- Marble: a Lumo variant with warm paper tones, serif headings and a sand-graded sidebar.
- Primary color: the accent colour of buttons, links and selected items. It can be picked from the swatches or entered as any colour.
- Secondary color: the colour of the application brand mark and of the current navigation item.
- Font family: the font of the application, from a list of system and web fonts.
- Corner radius: the roundness of buttons, fields and cards, from 0 to 24 pixels.
Selecting a theme also applies its default colours, font and radius, which can then be adjusted.
Review the Result
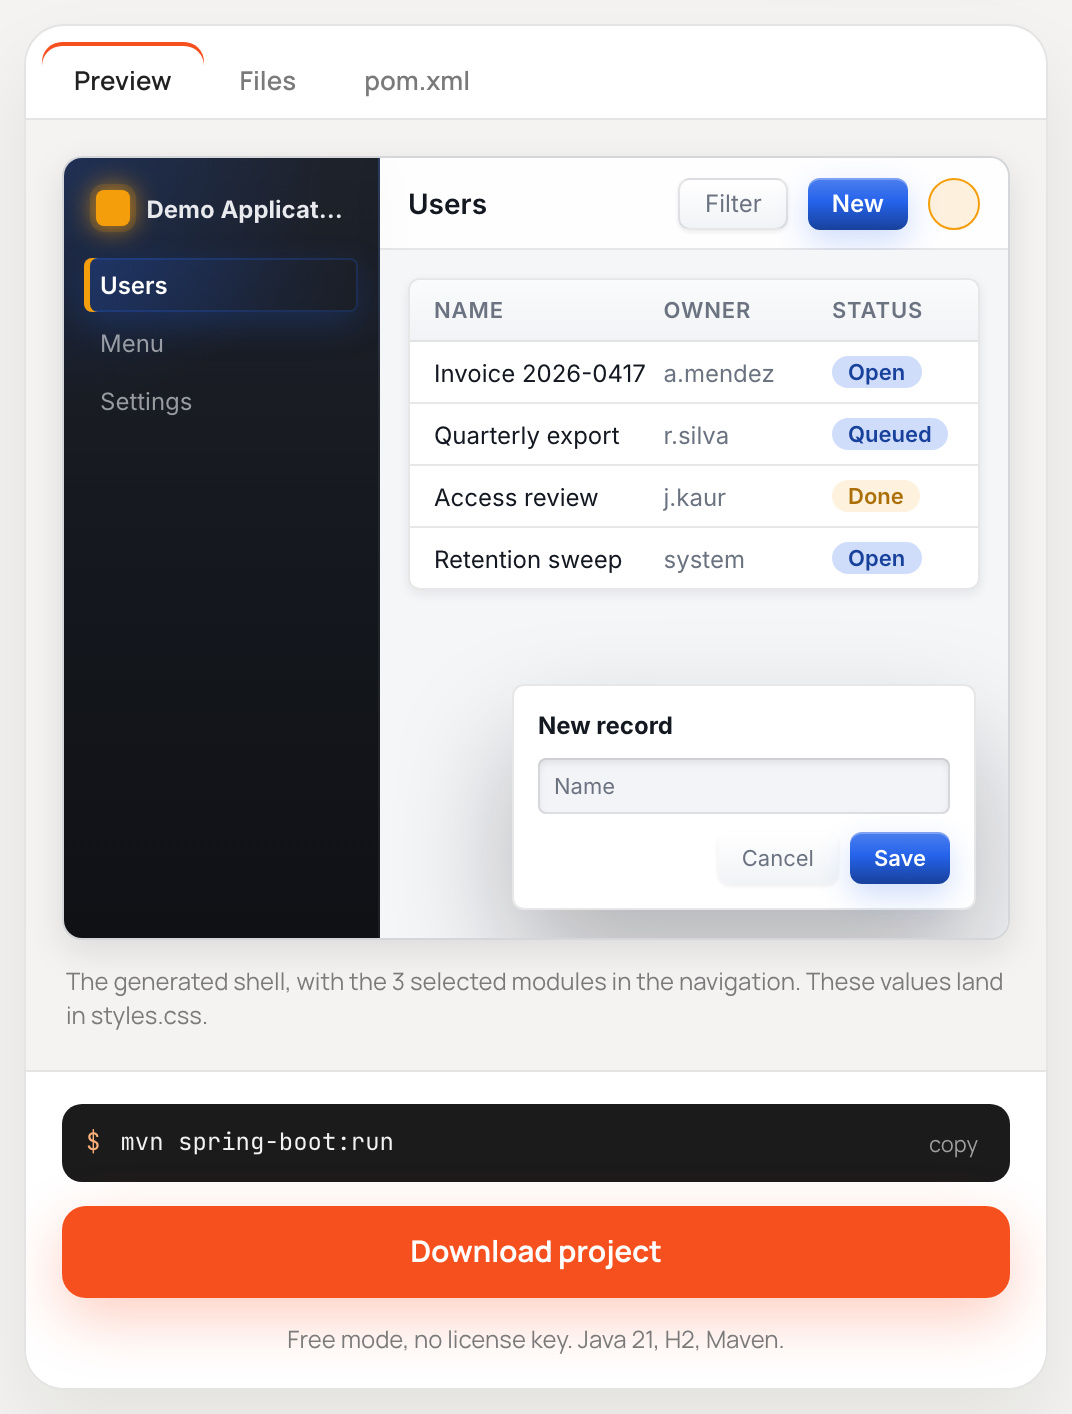
The result panel has three tabs:
- Preview: a live mock-up of the generated application shell with the selected theme and the selected AppJars in its navigation.
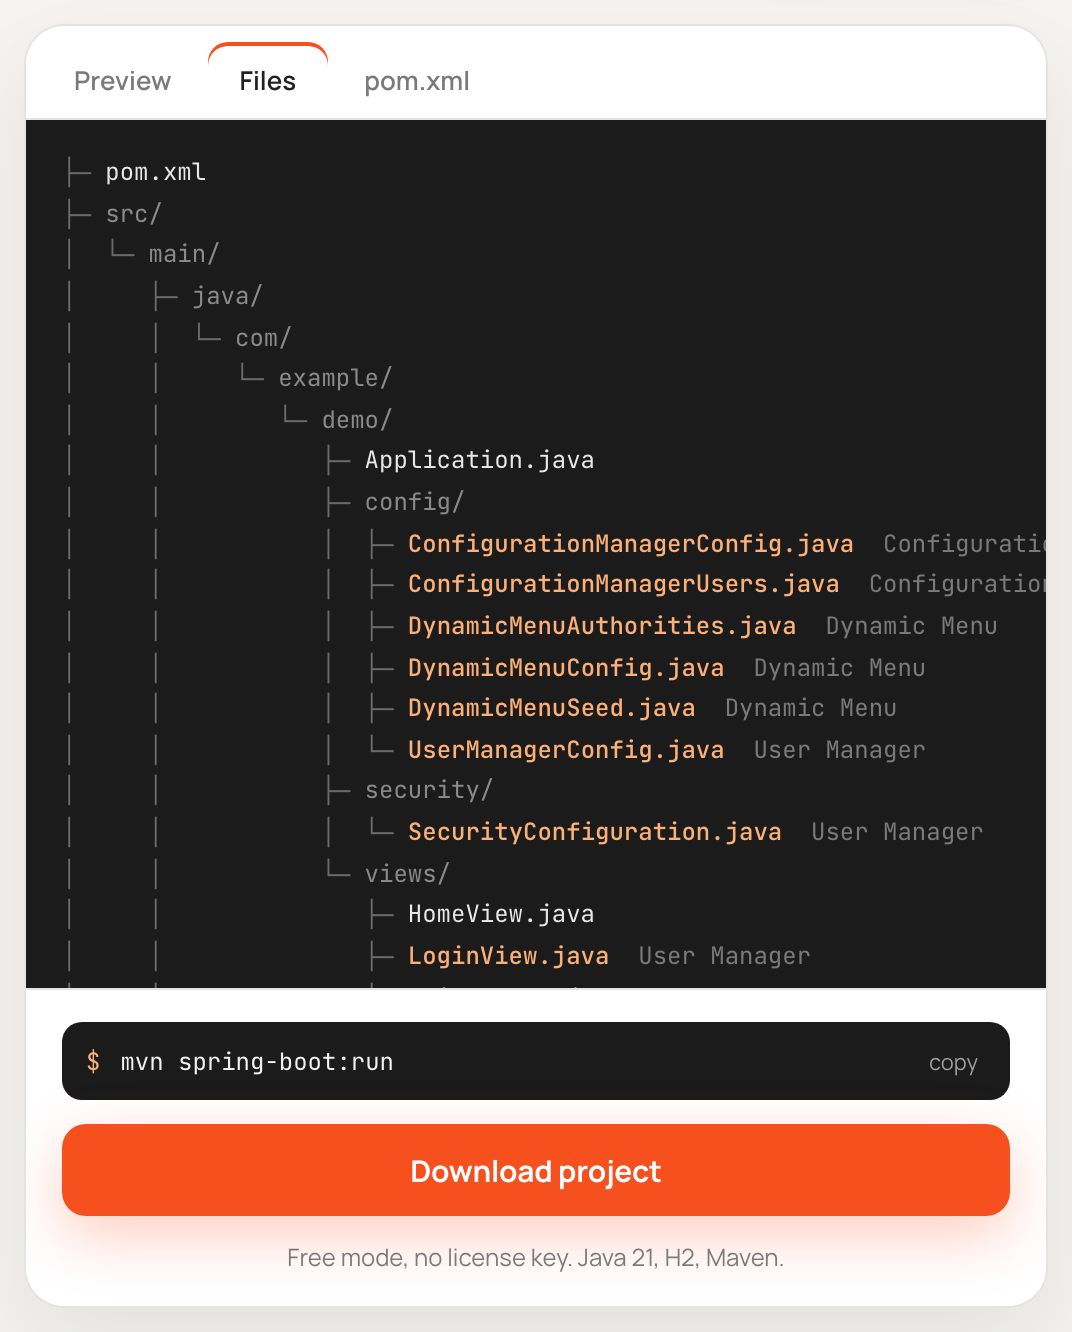
- Files: the file tree of the generated project. Files added by an AppJar are highlighted and labelled with the AppJar that contributes them.
- pom.xml: the generated
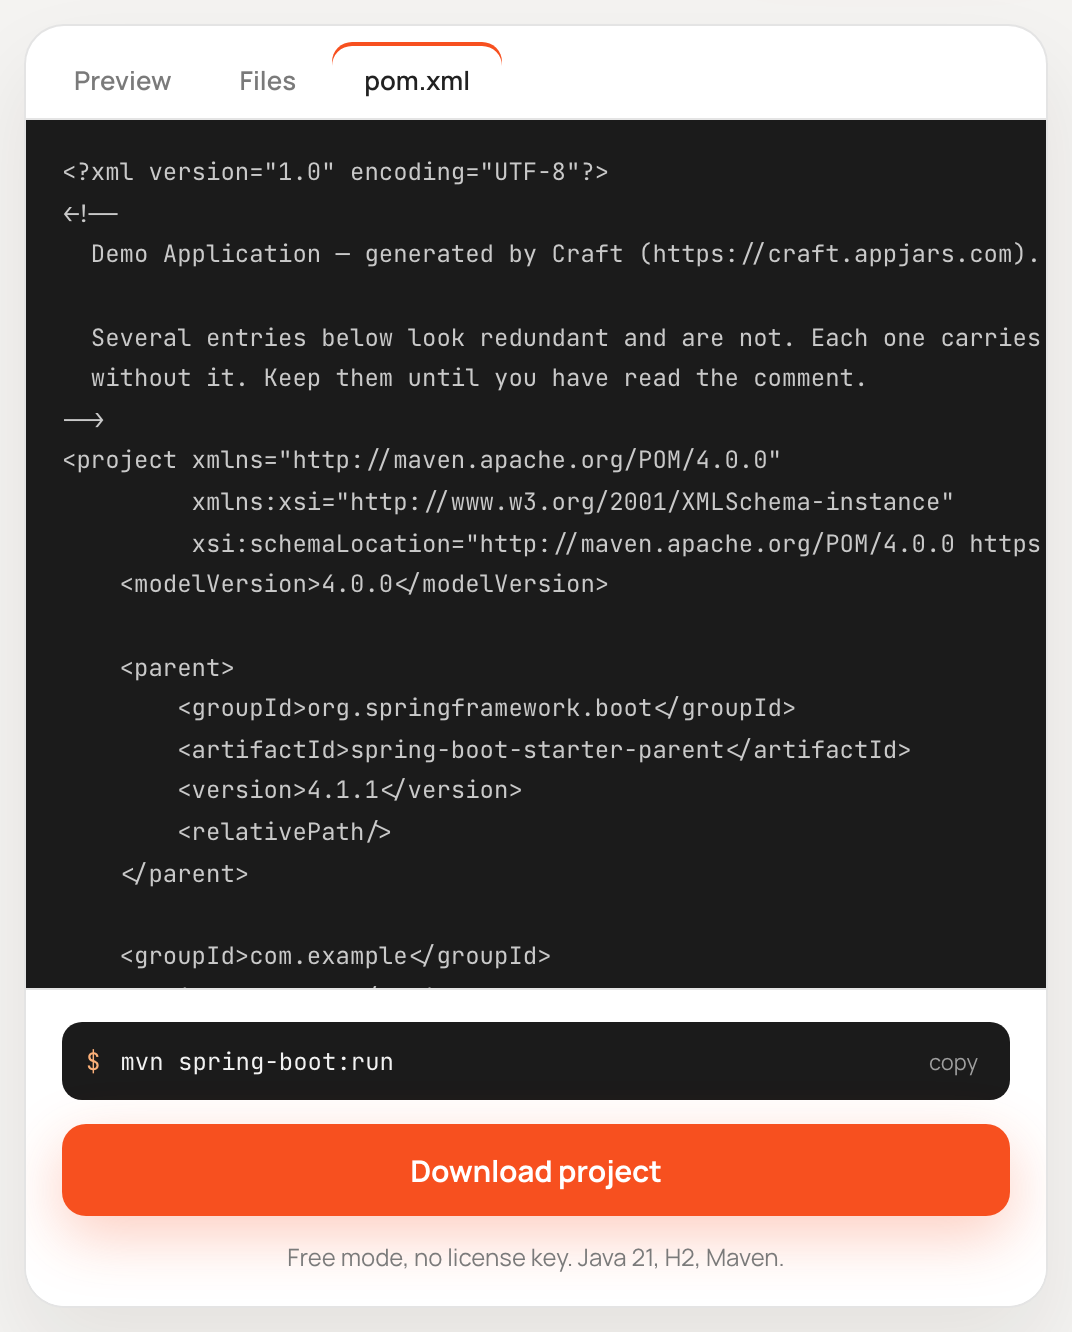
pom.xml, with the AppJars repository and dependencies highlighted.
Download and Run
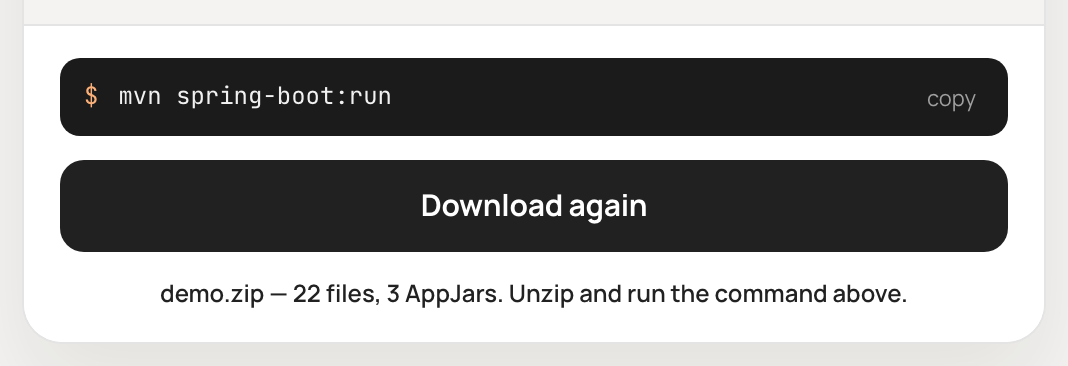
The Download project button, available both at the bottom of the result panel and on the top bar, downloads the project as <artifact id>.zip. The message below the button confirms the archive name, its number of files and the number of AppJars it contains.
Extract the archive and open a terminal in the extracted folder:
unzip demo.zip
cd demo
The generated README.md repeats the commands below for the options selected in Craft.
Run with Docker
When Include Docker deployment is selected, build and start the complete application, and its PostgreSQL database when PostgreSQL is selected, with:
docker compose up -d
The first start takes a few minutes, because the image builds the production application inside a container; later starts reuse the image. Open http://localhost:8080 once the container is running. To publish the application on another port, copy .env.example to .env and set APP_PORT. Stop the application with docker compose down.
Run with Maven
To run the application with Maven, for example during development, start it with:
mvn spring-boot:run
When PostgreSQL is selected, start the database first with docker compose -f compose.backend.yaml up -d, and stop it later with docker compose -f compose.backend.yaml down. If port 5432 is already taken, set POSTGRES_PORT to a free port in .env and in the environment of the application.
The application starts at http://localhost:8080 and opens the browser automatically. The project can also be imported into any Java IDE as a Maven project and started by running its Application class.
Sign In
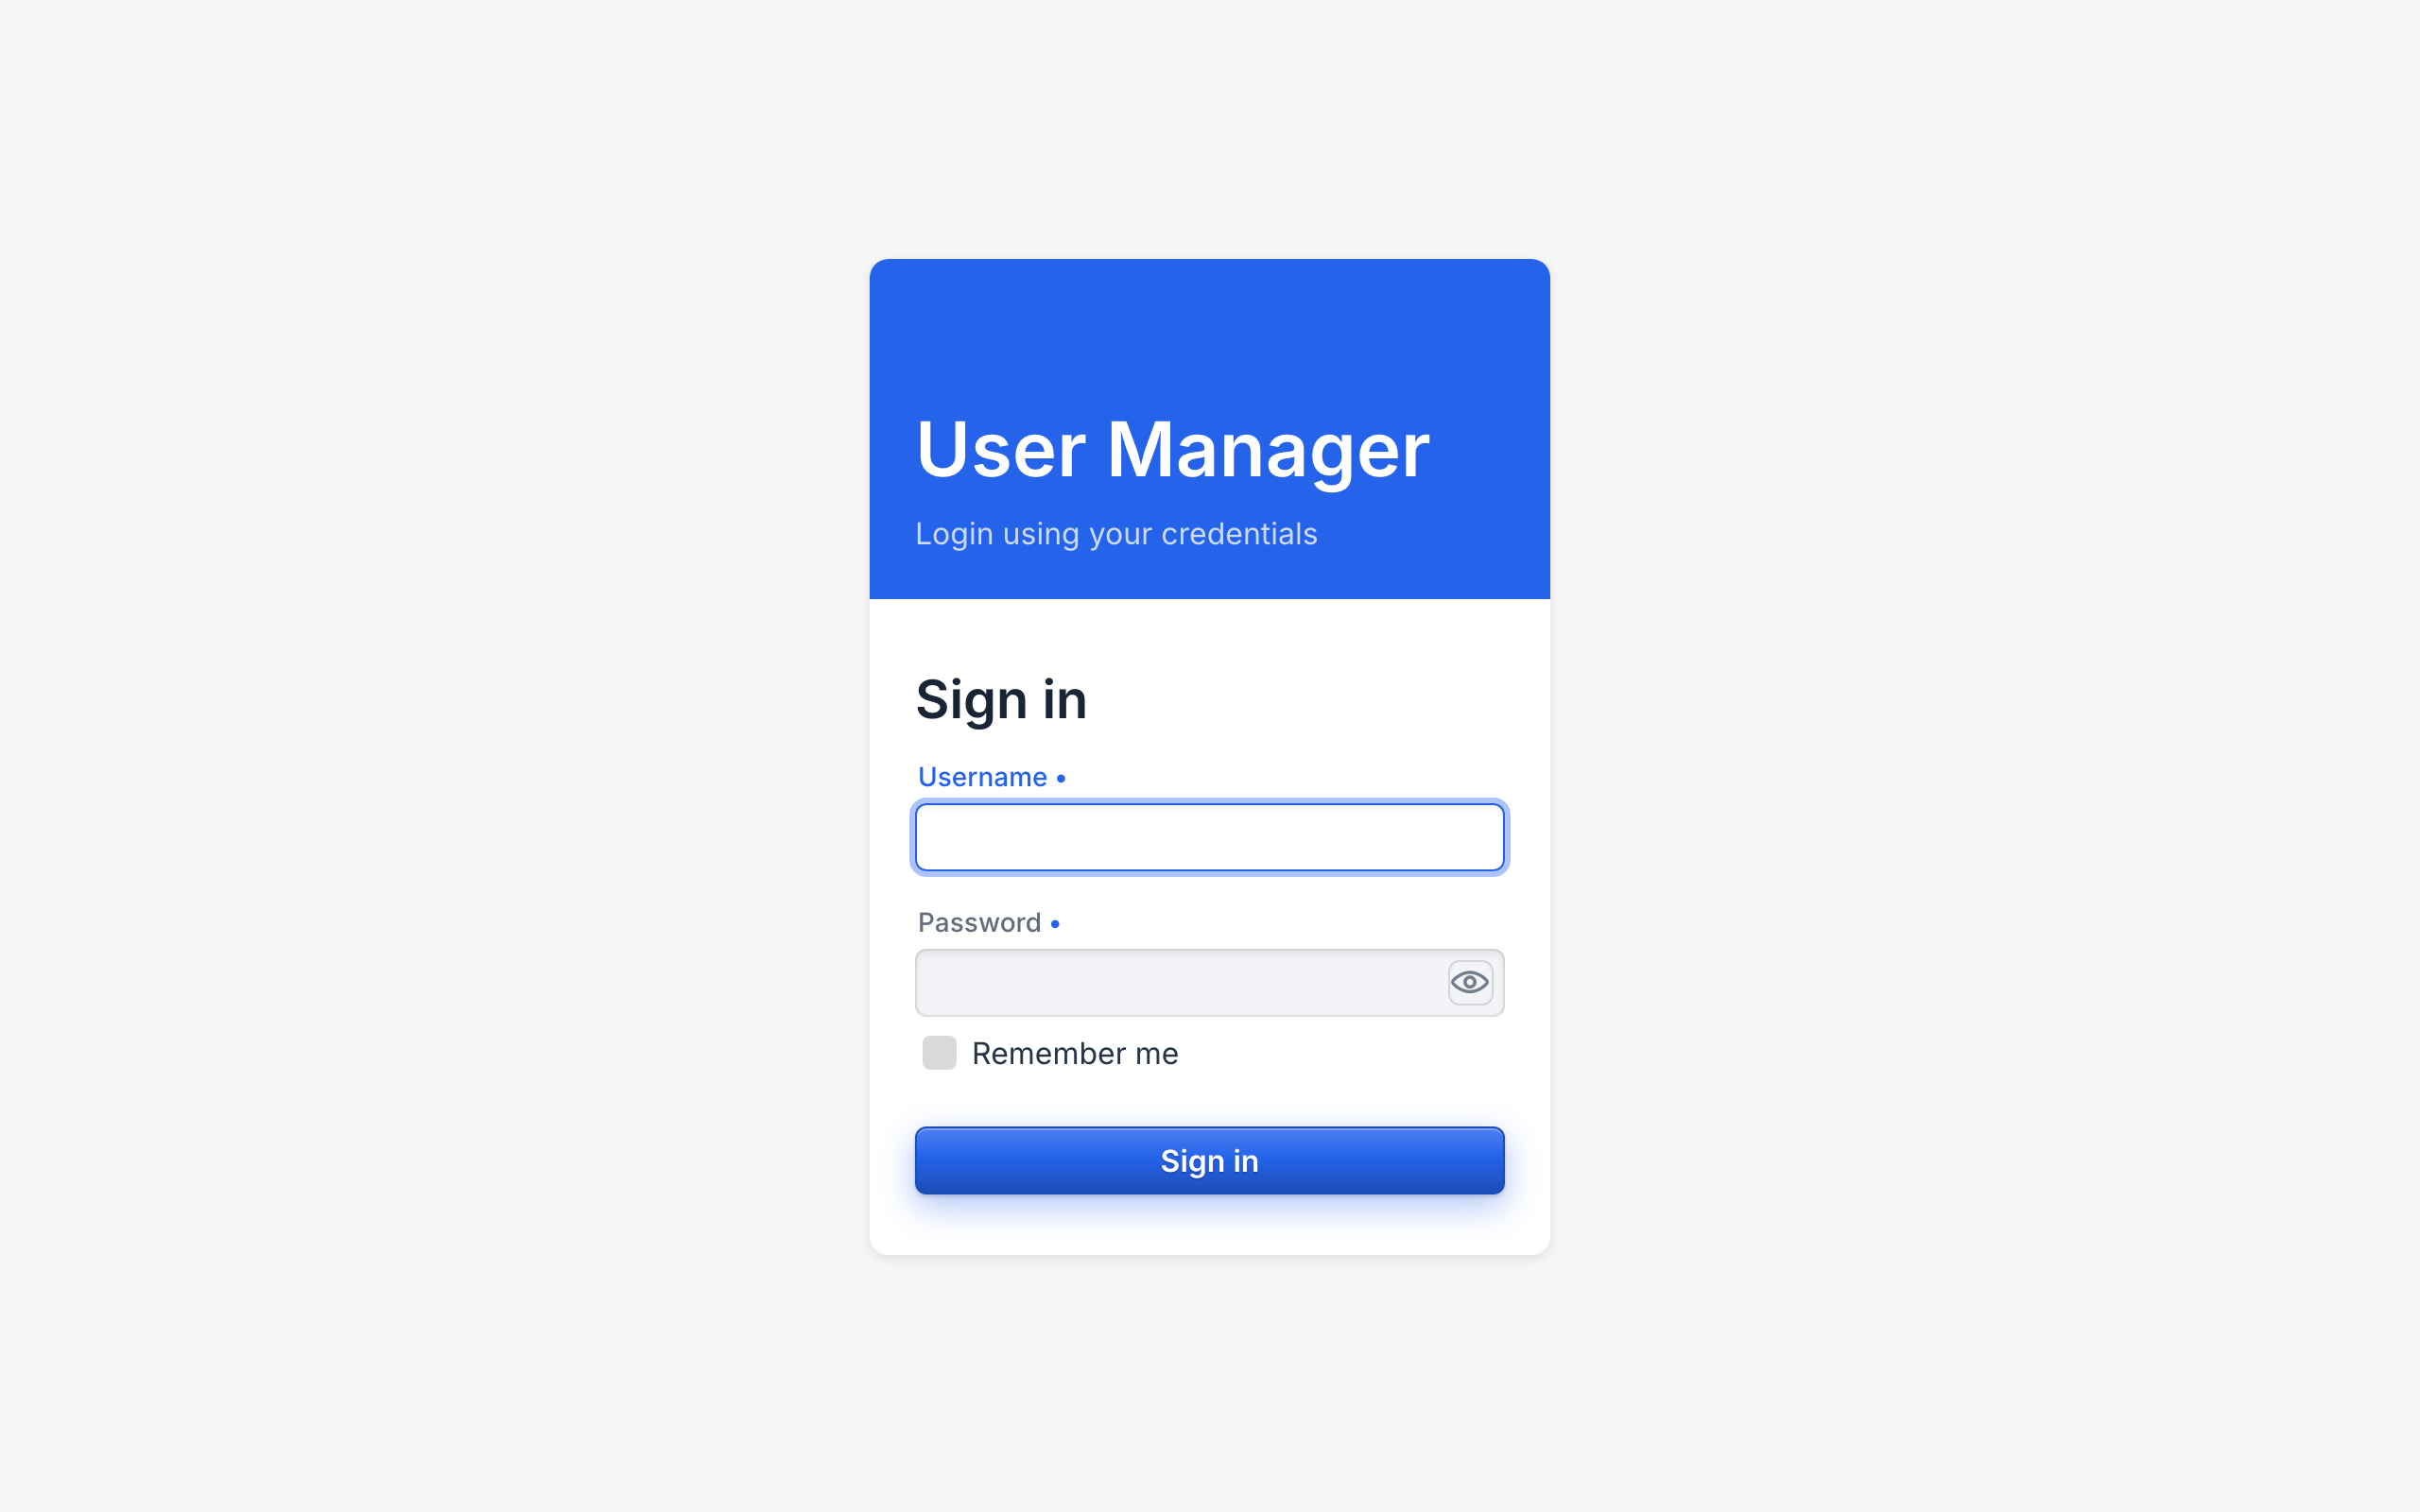
When User Manager or Issue Tracker is part of the project, the application is secured and shows a login page; sign in with the username admin and the password admin.
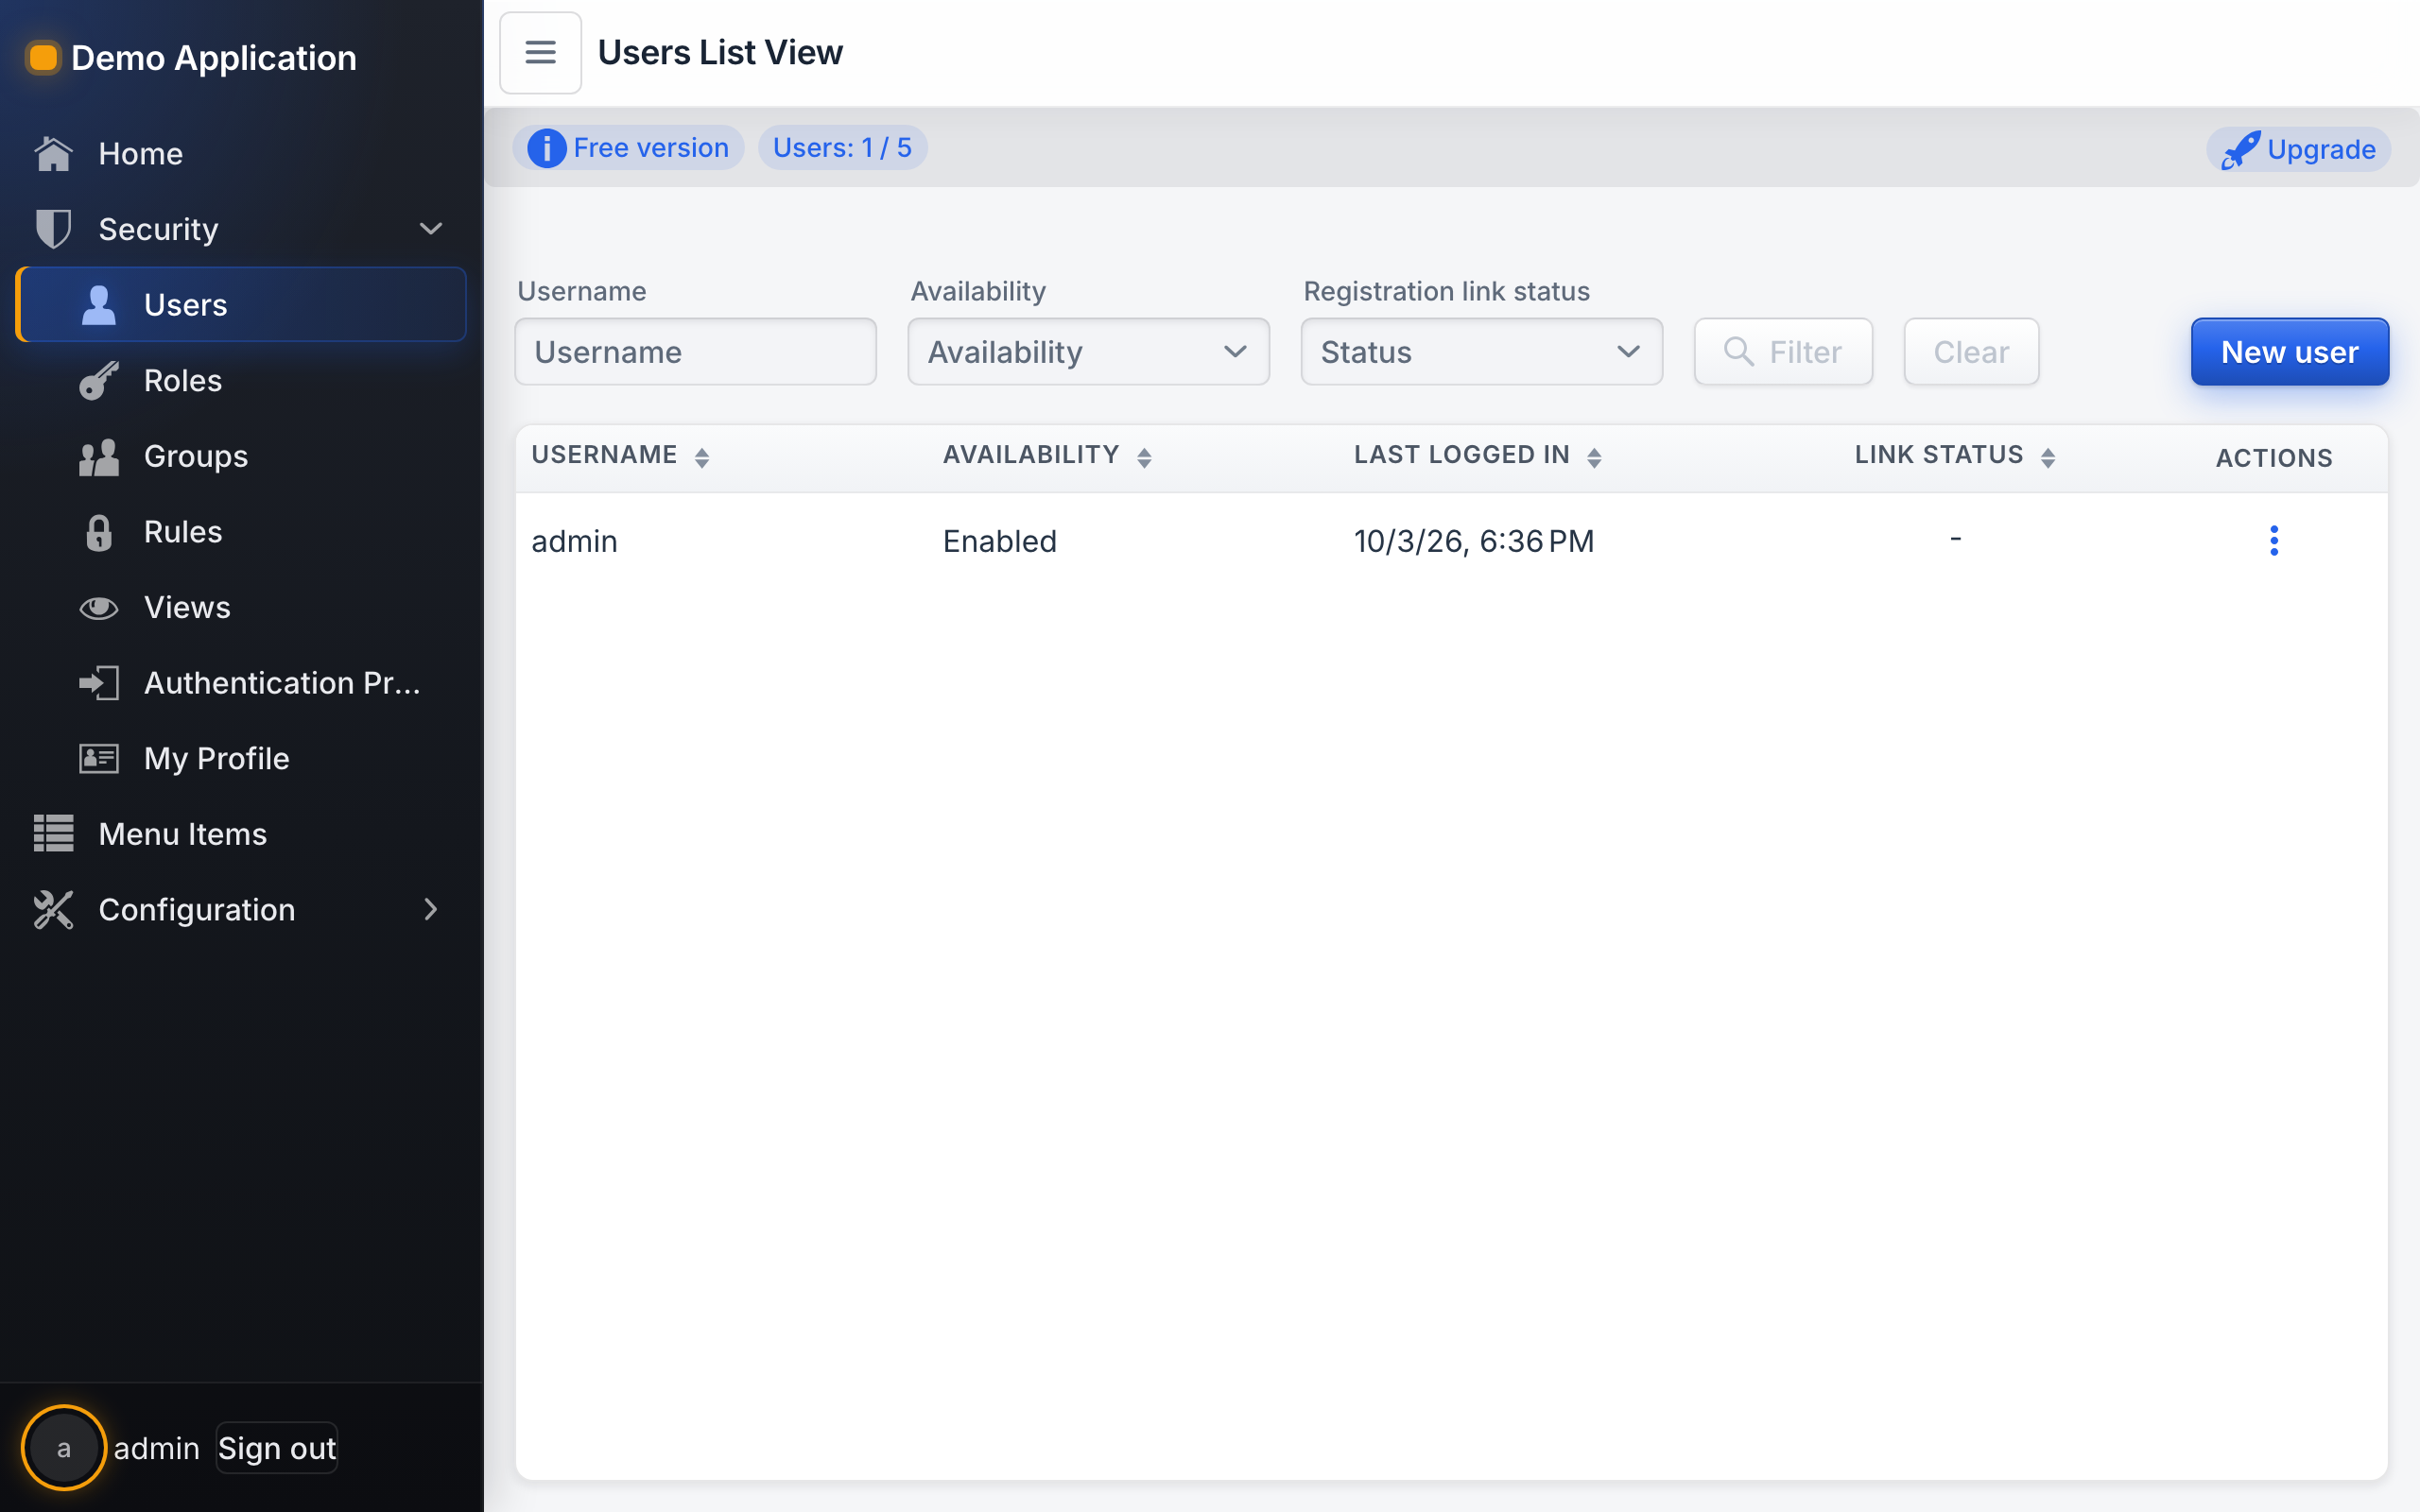
After signing in, the navigation drawer lists every view of every selected AppJar, grouped by AppJar.
The Generated Project
A generated project is a standard Spring Boot application built with Maven. It contains no Craft-specific code or runtime dependency, so it can be modified in any way after generation. Every non-obvious line in the generated sources carries a comment that explains why it is there.
The main files are:
pom.xml: Spring Boot parent, Vaadin BOM, the AppJars Maven repository (https://maven.appjars.com), the dependencies of every selected AppJar with pinned versions, and aproductionprofile that builds the frontend bundle.Application.java: the entry point. It declares the packages scanned by Spring and Vaadin, including those of each selected AppJar, and the theme stylesheets.config/: one class per AppJar that assigns the AppJar views to the application layout, plus the implementations of the interfaces each AppJar requires from the host application.security/SecurityConfiguration.java: the Spring Security configuration, generated when User Manager or Issue Tracker is selected.views/MainLayout.java,views/HomeView.javaand, when the application is secured,views/LoginView.java: the application shell, a placeholder start page meant to be replaced, and the login page.application.properties: the database connection, Vaadin settings and the properties each selected AppJar needs, grouped and commented.styles.css: the theme values chosen in the Appearance card.README.md: how to run and package the application, the default credentials and the settings each AppJar needs.AGENTS.md: a description of the project layout for AI coding assistants..env.example: generated when Docker deployment or PostgreSQL is selected, or when an AppJar needs external settings. It lists the ports used by Compose and, for each external setting, the environment variable and the Spring property it maps to. Docker Compose reads these values from a.envfile copied from it; Maven and IDE runs read them from the process environment.Dockerfile,.dockerignoreandcompose.yaml: generated when Include Docker deployment is selected.compose.yamlbuilds the image from theDockerfileand starts the application, together with PostgreSQL when it is selected.compose.backend.yaml: generated when PostgreSQL is selected. It starts only the PostgreSQL database, for running the application with Maven or from an IDE.
When Dynamic Menu is selected, it owns the whole navigation: on the first start the application fills the menu with the home page and every view of the selected AppJars, and from then on the menu is edited at runtime in the Menu Items view of Dynamic Menu.
The Docker image always contains a production build. To create one without Docker, package the application with the production profile and run the resulting JAR file:
mvn clean package -Pproduction
java -jar target/demo-1.0.0-SNAPSHOT.jar
Licenses
The generated project runs every AppJar in free mode, with the record and operation limits listed in Licensing. To lift those limits, install the license files as described in Installing a License. The generated project needs no code change to use a license.
Next Steps
The generated project is the starting point for the application. From there:
- Replace
HomeViewwith the application's own views and add them to the navigation inMainLayout, or in the Menu Items view when Dynamic Menu is selected. - Read the Getting Started guide of each selected AppJar to understand the integration that Craft has generated, and its Developer Guide to configure and customise it.
- Point the datasource in
application.propertiesat a persistent database before deploying.
To add an AppJar to an application that was not generated with Craft, follow the manual integration steps in the AppJar's Getting Started guide.